
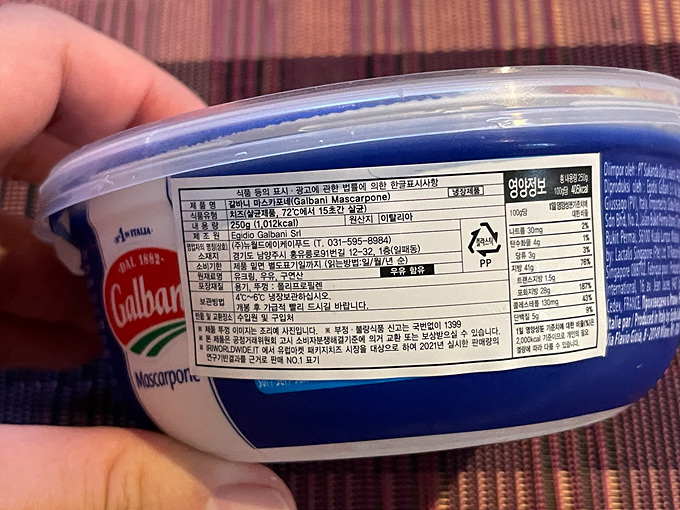
복숭아랑 같이 먹으려고 마스카포네 치즈를 사왔다.

티라미수 만드는데 사용된다고 한다.
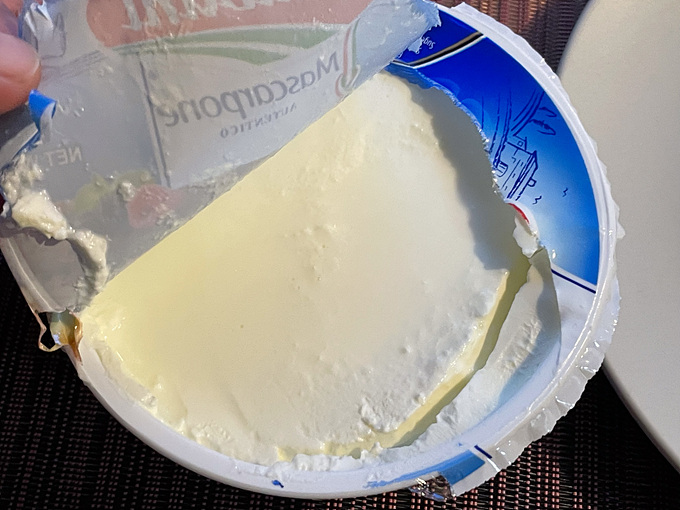
크림치즈 카테고리에 들어간다고 한다. 일반 크림치즈에 비해 시큼한 맛도 덜하고 부드럽다고 한다.
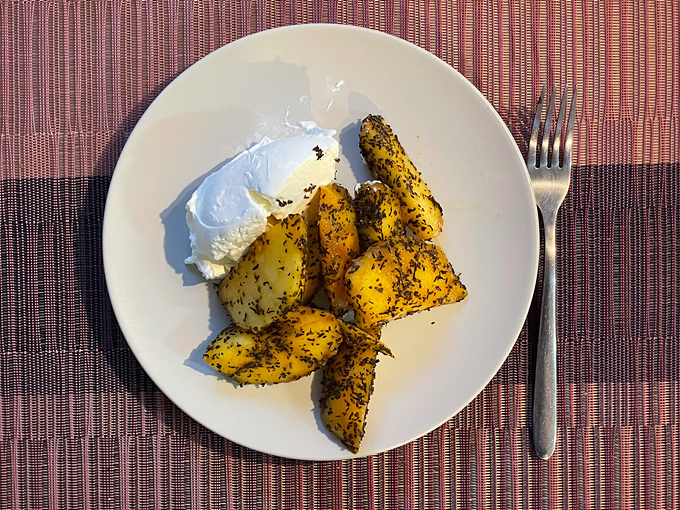
홍차잎에 절인 복숭아랑 먹으려고 사왔는데 기대와는 다른 맛이 느껴져서 별로였다.
728x90
복숭아랑 같이 먹으려고 마스카포네 치즈를 사왔다.
티라미수 만드는데 사용된다고 한다.
크림치즈 카테고리에 들어간다고 한다. 일반 크림치즈에 비해 시큼한 맛도 덜하고 부드럽다고 한다.
홍차잎에 절인 복숭아랑 먹으려고 사왔는데 기대와는 다른 맛이 느껴져서 별로였다.


이마트 화장솜이 가성비가 좋았는데 요새 보이질 않는다. 이니스프리 데이에 하나 집어왔는데 얇아서 닦는 용도로는 별로인 것 같다. 재질이 팩 느낌이다.


이번에는 닦아 쓰는 화장솜을 담아왔는데 나쁘지 않다. 전에는 힘줘서 사용하면 보풀이 일어나는 느낌이 있었는데 지금은 괜찮았다.
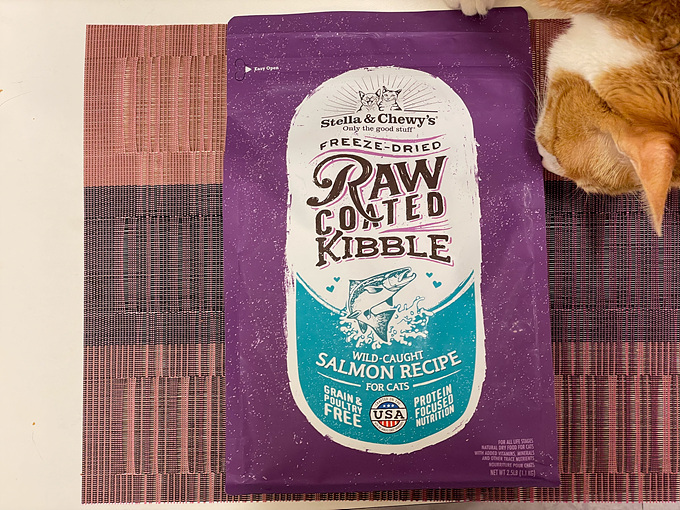
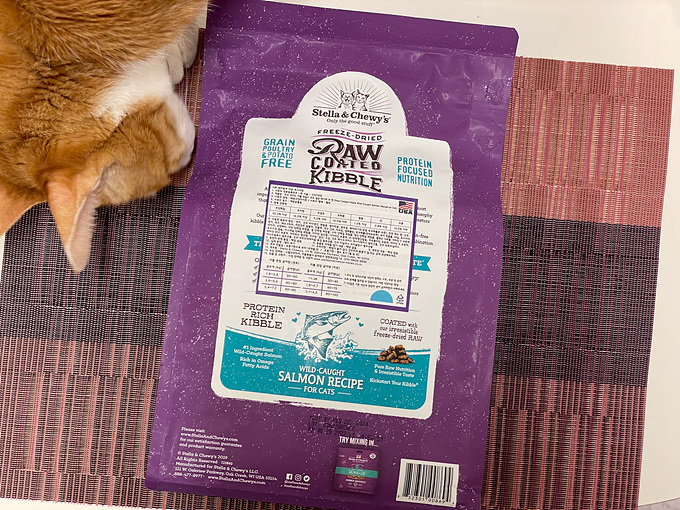
주문 들어오면 도축해서 만든 신선한 사료라고 해서 이번에 주문해봤다.
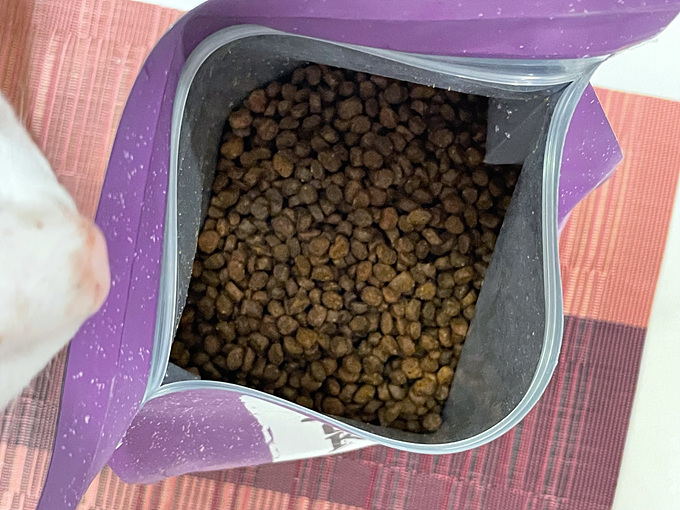

동글동글 알갱이 크기가 작다.


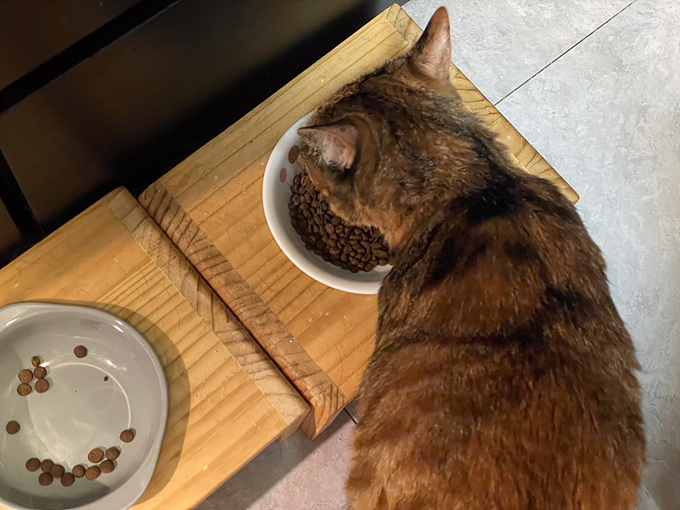
새 사료라 궁금해했지만 별로인가 보다. 이틀이 지나도 줄지 않는다. 연어 제품이라 주문할 때 부터 걱정했는데 역시나다.


클로리스는 밀크티 전문점인데 예전엔 모스카토 다즐링이라고 아이스티를 좋아했고 요새는 프로즌 메뉴를 즐겨 먹고 있다. 밀크티 프로즌과 더블린 프로즌 2가지 메뉴가 있는데 달달한게 땡길 때는 밀크티 프로즌을 먹고 카페인이 필요할 때는 더블린 프로즌을 주문한다.


Chloe 제휴로 알게된 브랜드인데 펜타포트에서 비오면 신을려고 주문했다.


여러 색상 중에 마카롱 멀티 색을 골랐다.

벨크로로 사이즈 조절이 가능하다. 20분 정도 거리를 걸어도 별로 불편하지 않고 괜찮았다.
회나 그릴이 괜찮아 보여서 가보고 싶었다.


센터필드 24층에 있는데 지하를 통해 조선 팰리스 엘베를 타고 가야한다.


캐치테이블 통해서 예약했다.


ㄱ 자 모양으로 배치되어 있는데 넓지는 않았다.

층고 높은 일식 쪽 자리였는데 멀리 롯데 타워가 보였다. 흐린날이라 뷰가 좋지는 않았다.

회, 초밥으로 시작했다.

치즈들어 간 만두가 웰컴으로 나왔다.


그릴 코너 하나씩 다 가져왔는데 식으니깐 별로였다. 따뜻하게 먹을 수 있게 조금씩 가져다 먹는 걸 추천한다.


디저트로 마카롱이 나왔다.
이것 저것 다 먹어보느라 과식했더니 밤에 소화가 안되서 힘들었다.

이달의 소녀(loona) 의 유닛이었던 ODD EYE CIRCLE 이 블록베리와의 전속계약 효력정지 가처분 승소로 새 소속사에서 새 앨범을 통해 컴백했다. 이달소 초창기 프로듀서가 제작해서 그런지 이어서 시작하는 느낌이 나서 좋다.
요새 돌판이 어지러운데 이달소는 잘됐으면 좋겠다.
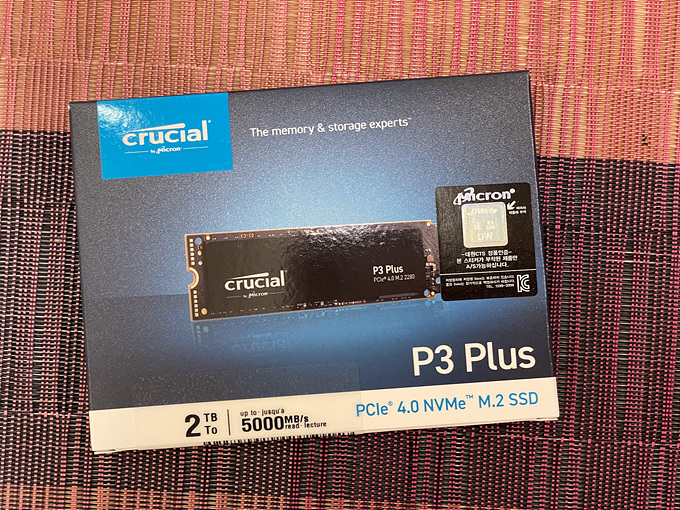
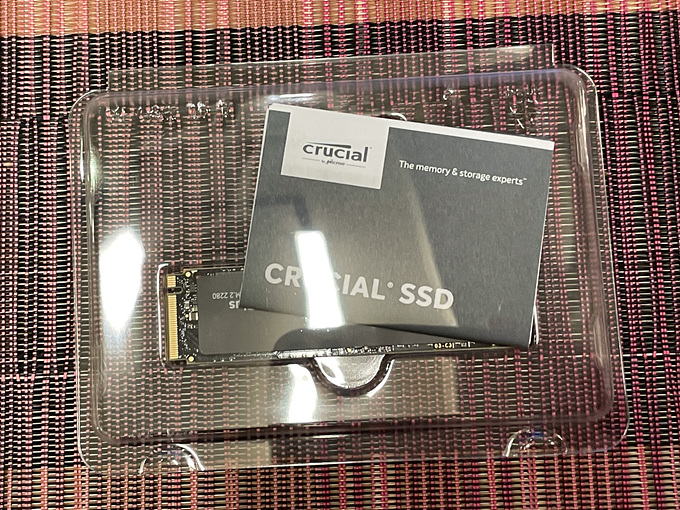

요새 핫딜로 제일 많이 뜨는 상품이 ssd 다. 최고 성능 제품은 아니지만 2T 제품이 99,000 원에 살 수 있었다.

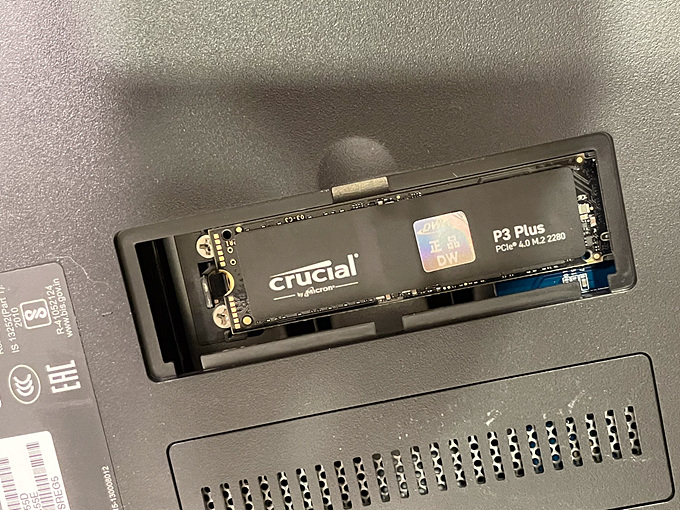
923+ 는 nvme ssd 를 볼륨으로 사용할 수 있지만 920+ 는 캐시로만 설정 가능했다. 하지만 수동으로 볼륨으로 설정 가능하다고 해서 구매한 ssd 를 920+ 에 설치했다.
https://academy.pointtosource.com/synology/synology-ds920-nvme-m2-ssd-volume/
위 사이트 내용을 참고했다. nvme ssd 설치하고 ssh 로 접근해 device 를 설정 후 볼륨 관리자에서 활성화 시키는 방식이다.
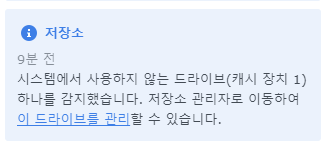

nvme ssd 설치 후 부팅하면 장치가 인식되었다는 알림이 뜨고 저장소 관리자에서 확인할 수 있다.

DSM 7.2 사용 중인데 혹시나 바로 스토리지 풀을 생성할 수 있나 싶었지만 지원하지 않았다.
1.  ls /dev/nvme*             (Lists your NVMe drives)
2.  sudo -i                   (Type this, then type your password for Super User)
3.  fdisk -l /dev/nvme0n1     (Lists the partitions on NVMe1)
4.  fdisk -l /dev/nvme1n1     (Lists the partitions on NVMe2)
5.  synopartition --part /dev/nvme0n1 12    (Creates the Syno partitions on NVMe1)
6.  synopartition --part /dev/nvme1n1 12    (Creates the Syno partitions on NVMe2)
7.  fdisk -l /dev/nvme0n1     (Lists the partitions on NVMe1)
8.  fdisk -l /dev/nvme1n1     (Lists the partitions on NVMe2)
9.  cat /proc/mdstat          (Lists your RAID arrays/logical drives)
10. mdadm --create /dev/md3 --level=1 --raid-devices=2 --force /dev/nvme0n1p3 /dev/nvme1n1p3      (Creates the RAID array RAID 1 --level=1 RAID 0 --level=0)
11. cat /proc/mdstat          (Shows the progress of the RAID resync for md3 or md4)
12. echo 0 > /sys/block/md3/queue/rotational
13. mkfs.btrfs -f /dev/md3    (Formats the array as btrfs)
ssh 로 접근해 파티션을 만들고 raid 생성 후 포맷을 해주면 된다.
# cat /proc/mdstat
Personalities : [raid1] [raid6] [raid5] [raid4] [raidF1]
md6 : active raid5 sata7p8[0] sata5p8[3] sata9p8[2] sata8p8[1]
      17581508736 blocks super 1.2 level 5, 64k chunk, algorithm 2 [4/4] [UUUU]

md5 : active raid5 sata5p7[5] sata9p7[4] sata8p7[3] sata7p7[2] sata6p7[1]
      5860475648 blocks super 1.2 level 5, 64k chunk, algorithm 2 [5/5] [UUUUU]

md2 : active raid6 sata3p3[0] sata1p3[3] sata2p3[2] sata4p3[1]
      5850889088 blocks super 1.2 level 6, 64k chunk, algorithm 2 [4/4] [UUUU]

md7 : active raid1 sata9p9[0] sata5p9[1]
      3904854208 blocks super 1.2 [2/2] [UU]

md4 : active raid5 sata5p6[6] sata9p6[5] sata8p6[4] sata7p6[3] sata6p6[2]
      703225088 blocks super 1.2 level 5, 64k chunk, algorithm 2 [5/5] [UUUUU]

md3 : active raid5 sata5p5[7] sata7p5[4] sata8p5[5] sata9p5[6] sata6p5[3]
      1230960384 blocks super 1.2 level 5, 64k chunk, algorithm 2 [5/5] [UUUUU]

md1 : active raid1 sata3p2[0] sata1p2[3] sata2p2[2] sata4p2[1]
      2097088 blocks [4/4] [UUUU]

md0 : active raid1 sata3p1[0] sata1p1[3] sata2p1[2] sata4p1[1]
      2490176 blocks [4/4] [UUUU]

unused devices: <none>
1. cat /proc/mdstat 을 통해 추가할 md# 을 확인하자. 순서대로 있는 줄 알고 md7을 추가하면 될거라고 생각했는데 md7 이 사이에 있었다.
# fdisk -l /dev/nvme0n1
Disk /dev/nvme0n1: 1.8 TiB, 2000398934016 bytes, 3907029168 sectors
Disk model: CT2000P3PSSD8
Units: sectors of 1 * 512 = 512 bytes
Sector size (logical/physical): 512 bytes / 512 bytes
I/O size (minimum/optimal): 512 bytes / 512 bytes

# synopartition --part /dev/nvme0n1 12

        Device   Sectors (Version6: SupportRaid)
 /dev/nvme0n11   4980087 (2431 MB)
 /dev/nvme0n12   4192965 (2047 MB)
Reserved size:    257040 ( 125 MB)
Primary data partition will be created.

WARNING: This action will erase all data on '/dev/nvme0n1' and repart it, are you sure to continue? [y/N] y
Cleaning all partitions...
Creating sys partitions...
Creating primary data partition...
Please remember to mdadm and mkfs new partitions.
nvme1 장비에 파티션을 설정하자.
# mdadm --create /dev/md8 --level=0 --raid-devices=1 --force /dev/nvme0n1p3
mdadm: Defaulting to version 1.2 metadata
mdadm: array /dev/md8 started.
생성된 파티션으로 raid 를 생성하자.
# mdadm --create --help
Usage:  mdadm --create device -chunk=X --level=Y --raid-devices=Z devices

 This usage will initialise a new md array, associate some
 devices with it, and activate the array.   In order to create an
 array with some devices missing, use the special word 'missing' in
 place of the relevant device name.

 Before devices are added, they are checked to see if they already contain
 raid superblocks or filesystems.  They are also checked to see if
 the variance in device size exceeds 1%.
 If any discrepancy is found, the user will be prompted for confirmation
 before the array is created.  The presence of a '--run' can override this
 caution.

 If the --size option is given then only that many kilobytes of each
 device is used, no matter how big each device is.
 If no --size is given, the apparent size of the smallest drive given
 is used for raid level 1 and greater, and the full device is used for
 other levels.

 Options that are valid with --create (-C) are:
  --bitmap=          : Create a bitmap for the array with the given filename
                     : or an internal bitmap is 'internal' is given
  --chunk=      -c   : chunk size in kibibytes
  --rounding=        : rounding factor for linear array (==chunk size)
  --level=      -l   : raid level: 0,1,4,5,6,10,linear,multipath and synonyms
  --parity=     -p   : raid5/6 parity algorithm: {left,right}-{,a}symmetric
  --layout=          : same as --parity, for RAID10: [fno]NN
  --raid-devices= -n : number of active devices in array
  --spare-devices= -x: number of spare (eXtra) devices in initial array
  --size=       -z   : Size (in K) of each drive in RAID1/4/5/6/10 - optional
  --data-offset=     : Space to leave between start of device and start
                     : of array data.
  --force       -f   : Honour devices as listed on command line.  Don't
                     : insert a missing drive for RAID5.
  --run         -R   : insist of running the array even if not all
                     : devices are present or some look odd.
  --readonly    -o   : start the array readonly - not supported yet.
  --name=       -N   : Textual name for array - max 32 characters
  --bitmap-chunk=    : bitmap chunksize in Kilobytes.
  --delay=      -d   : bitmap update delay in seconds.
  --write-journal=   : Specify journal device for RAID-4/5/6 array
SHR은 설정이 안되는 것 같다.
# echo 0 > /sys/block/md8/queue/rotational
root@nkColony:~# mkfs.btrfs -f /dev/md8
btrfs-progs v4.0
See http://btrfs.wiki.kernel.org for more information.

Detected a SSD, turning off metadata duplication.  Mkfs with -m dup if you want to force metadata duplication.
Performing full device TRIM (1.81TiB) ...

Label:              (null)
UUID:               fc77a1e9-fce0-44ce-bcda-7825e994ac9e
Node size:          16384
Sector size:        4096
Filesystem size:    1.81TiB
Block group profiles:
  Data:             single            8.00MiB
  Metadata:         single            8.00MiB
  System:           single            4.00MiB
SSD detected:       yes
Incompat features:  extref, skinny-metadata
Number of devices:  1
Devices:
   ID        SIZE  PATH
    1     1.81TiB  /dev/md8
생성 후에 포맷까지 하고 재부팅을 한다.

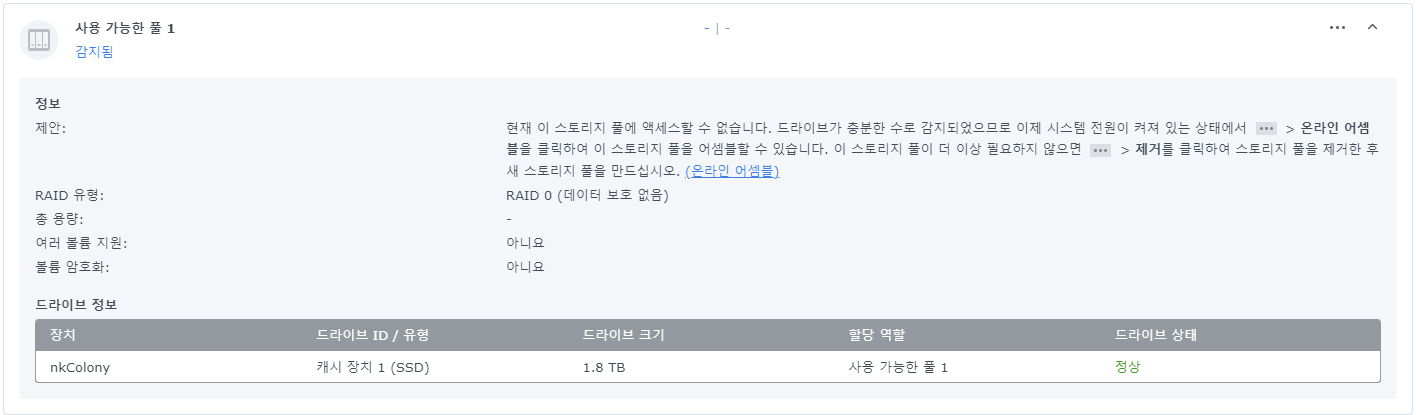
사용 가능한 풀이 감지되었고 알림이 뜨고 저장소 관리자에서 사용 가능한 풀로 표기된다.
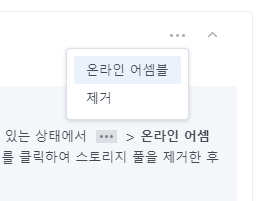
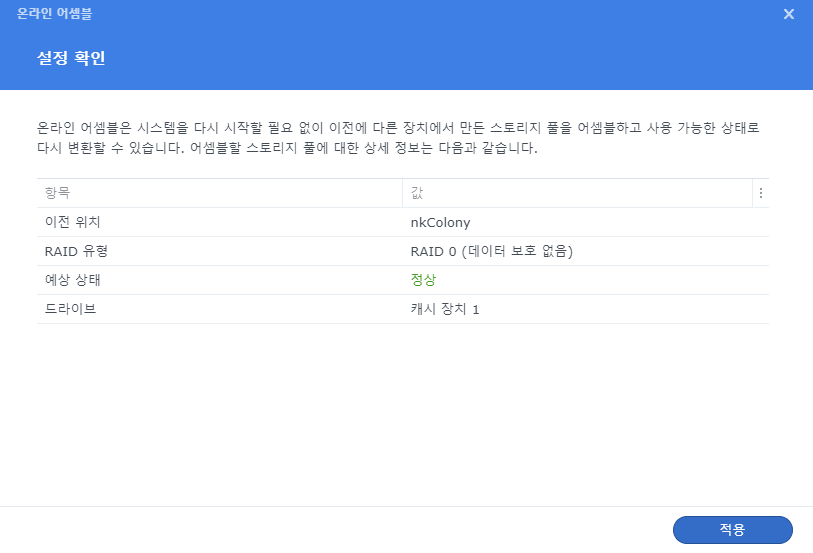

오른쪽에 있는 ... 메뉴에서 온라인 어셈블을 선택하면 스토리지 풀이 추가된다.
여유 장비가 없어서 추가 설정이 가능한지 모르겠지만 일단은 스토리지 풀로 추가해서 사용하고 있다. 기존 스토리지 풀에 추가하거나 할 수는 없었고 nvme ssd 를 볼륨으로 사용할 수 있다 정도 수준이다.
절전 상태에서 복귀할 때 하드 소리 때문에 시끄럽고 버벅거리는데 ssd 로 바뀐다면 소음이 줄어들 것 같은 기대가 있다.
(2023-07-30) 디스크 디비 업데이트 되었다고 재부팅했더니 지원하지 않는 디스크라는 메시지가 보인다. :(
# mdadm --assemble --scan
mdadm: /dev/md/8 has been started with 1 drive.
ssh 로 접근해서 mdadm 으로 재설정해봤지만 재부팅하면 날라가버렸다. :(
https://svrforum.com/nas/824972
서버포럼 - DSM 7.2-64570 이후 캐시장치 - 현재 DSM버전에서 지원되지 않습니다 에러 => 해결
글 지울까 하다가 이미 읽으신 분이 몇분 계셔서, 해결법만 추가하고 글 남겨둡니다. /etc.defaults/synoinfo.conf 의 support_m2_pool="no" 를 support_m2_pool="yes" 로 바꾸고 재부팅 하면 됩니다. (재부팅은 왜이..
svrforum.com
'지원하지 않는 디스크' 라는 메시지를 검색해보니 업데이트 때 발생할 수 있나 보다.
# vi /etc.defaults/synoinfo.conf설정 파일을 열어서 support_m2_pool 이라는 설정을 yes 바꾸고 재부팅하자.
support_m2_pool="yes"

저장소 관리자에서 m.2 장치가 캐시가 아닌 드라이브로 잡히면서 오류가 수정되었다. m.2 ssd 추가로 사서 묶어서 사용하려고 했는데 언제 막힐지 몰라서 temp 용도로만 써야겠다.
집 모니터는 QHD, WFHD 인데 회사 모니터는 FHD 라 불편했다.

NVIDIA 그래픽 카드를 사용중이라면 제어판에서 지원하는 해상도 보다 더 높은 해상도를 사용할 수 있다.

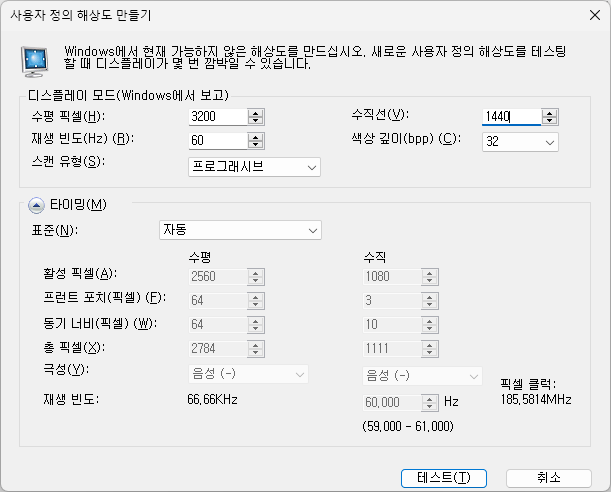
사용자 정의 해상도 만들기를 눌러 QHD+ 를 만들었다.


테스트를 누르면 해상도 변경 확인창이 뜨고 예를 누르면 사용자 정의가 추가된 것을 확인할 수 있다.

디스플레이 설정 해상도에 3200 x 1440 이 추가되어 있다.
지원하지 않는 해상도라 가독성은 떨어지지만 넓은 해상도가 필요하다면 어쩔 수 없다.
AMD 계열은 가상초고해상도 라는 옵션이 있나보다. 인텔도 옛날 모델에는 있었는데 최근 버전에는 찾을 수가 없었다.
c# 에서 객체를 json 문자열로 바꾸려면 System.Text.Json.JsonSerializer 를 사용하면 된다.
using System.Text.Json;

public class ObjectA
{
    public int a { get; set; }
    public int b { get; set; }
    public int c { get; set; }
}

public class JsonTest
{
    public static void Main()
    {
        var objA = new ObjectA() { a = 1, b = 2, c = 3};

        var jsonStr = System.Text.Json.JsonSerializer.Serialize(objA);

        Console.WriteLine(jsonStr);
    }
 }
$ JsonTest.exe
{"a":1,"b":2,"c":3}
위와 같이 json 문자열로 변환되기를 원하는 문자열을 property 로 선언하고 JsonSerializer.Serialize 함수를 호출하면 된다.
using Newtonsoft.Json;
using System.Text.Json;

public class ObjectA
{
    public int a { get; set; }
    public int b { get; set; }
    public int c { get; set; }

    public int d;
}

public class JsonTest
{
    public static void Main()
    {
        var objA = new ObjectA() { a = 1, b = 2, c = 3, d = 4 };

        var jsonStr = System.Text.Json.JsonSerializer.Serialize(objA);

        Console.WriteLine(jsonStr);

        var jsonStr2 = JsonConvert.SerializeObject(objA);
        Console.WriteLine(jsonStr2);
    }
}
$ JsonTest.exe
{"a":1,"b":2,"c":3}
{"d":4,"a":1,"b":2,"c":3}하지만 위와 같이 property 선언되지 않은 멤버들은 json 문자열로 출력되지 않는다. property 선언되지 않은 d 까지 json 문자열로 변환되길 바란다면 Newtonsoft.Json 을 이용하자. JsonConvert.SerializeObject 함수를 이용하면 된다.
참고로 protobuf descriptor 가 없는 경우에 System.Text.Json.JsonSerializer 를 이용한다면 json 으로 변환되지 않았다.
참고 : https://stackoverflow.com/questions/6201529/how-do-i-turn-a-c-sharp-object-into-a-json-string-in-net
How do I turn a C# object into a JSON string in .NET?
I have classes like these: class MyDate { int year, month, day; } class Lad { string firstName; string lastName; MyDate dateOfBirth; } And I would like to turn a Lad object into a...
stackoverflow.com